
Diamond Head and Rock Pile Pass
Narrowneck has a dozen or so named passes and also a few less well known. Diamond Head is a little tricky for a couple of reasons. While there is only one "real" Rock Pile Pass that uses a rock pile for access, there is another way onto the ledge, as well as a "fake" Rock Pile Pass which has been repeated numerous times. This trip included all three variants and also the Diamond Head route, using Redledge Pass twice for access.
Narrowneck has a dozen or so named passes and also a few less well known. Diamond Head is a little tricky for a couple of reasons. While there is only one “real” Rock Pile Pass that uses a rock pile for access, there is another way onto the ledge, as well as a “fake” Rock Pile Pass which has been repeated numerous times. This trip included all three variants and also the Diamond Head route, using Redledge Pass twice for access.
The route synopsis -
- down Diamond Head Pass
- up Redledge Pass
- down onto the ledge via a gully between the real & fake Rock Pile Passes
- up original Rock Pile Pass
- abseil down Rock Pile Nose
- traverse easily westwards along top of talus
- up alternative Redledge Pass
After parking at Narrowneck Gate, backtrack 50m to find the climbers pass down to the climbing area below Diamond Falls, proceed along to ledge right to the nose of Diamond Head, where the careful descent entails only a little exposure. Then head East to find a safe drop past the last bluffs before a steep talus descent to the tramway. This is followed by an equally steep ascent to Redledge Pass and then the shortcut out of Corral Creek due West towards the nose near Rock Pile Pass was taken.
There’s an obvious easy wide gully 150m South of the nose that leads to the halfway ledge, where the track leads in both directions. Following the ledge South for a couple of hundred meters leads to the original Rock Pile Pass.
After ascending the Pass and looping back North to the nose, finding an abseil point right on the nose to the next ledge 8m below is straightforward. Continuing flat finds a medium cairn on a flat outcrop with an easy ramp (although nrrow) down to the talus on the Southern side.
Rather than descending the talus, there is a rough track that follows the base of the cliff all the way back to Redledge Pass, and then the easy track to the firetrail to return to the car park.
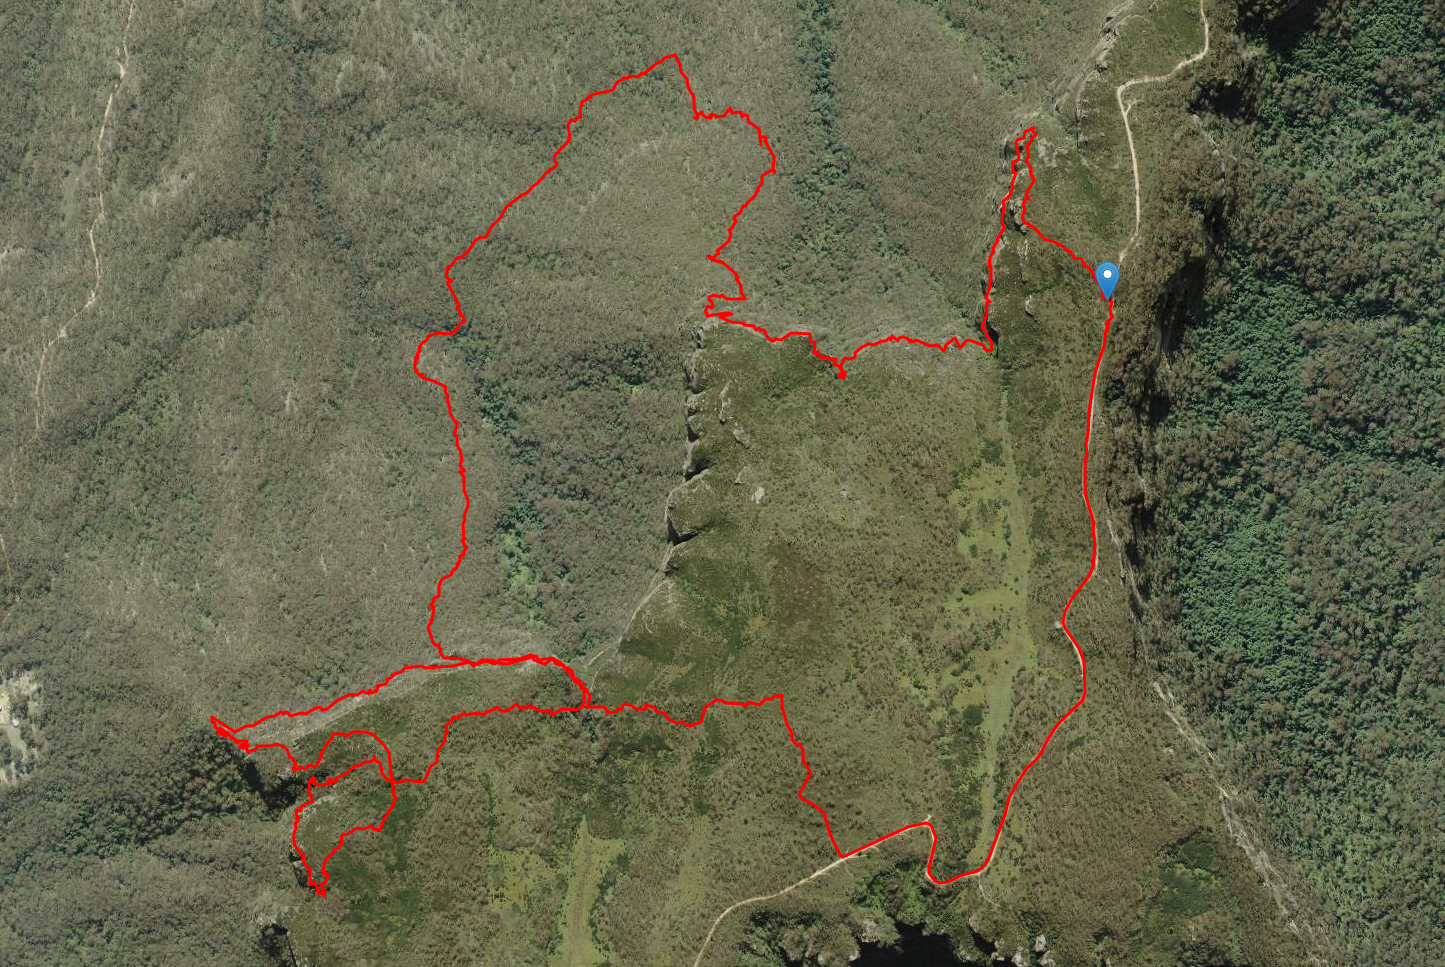
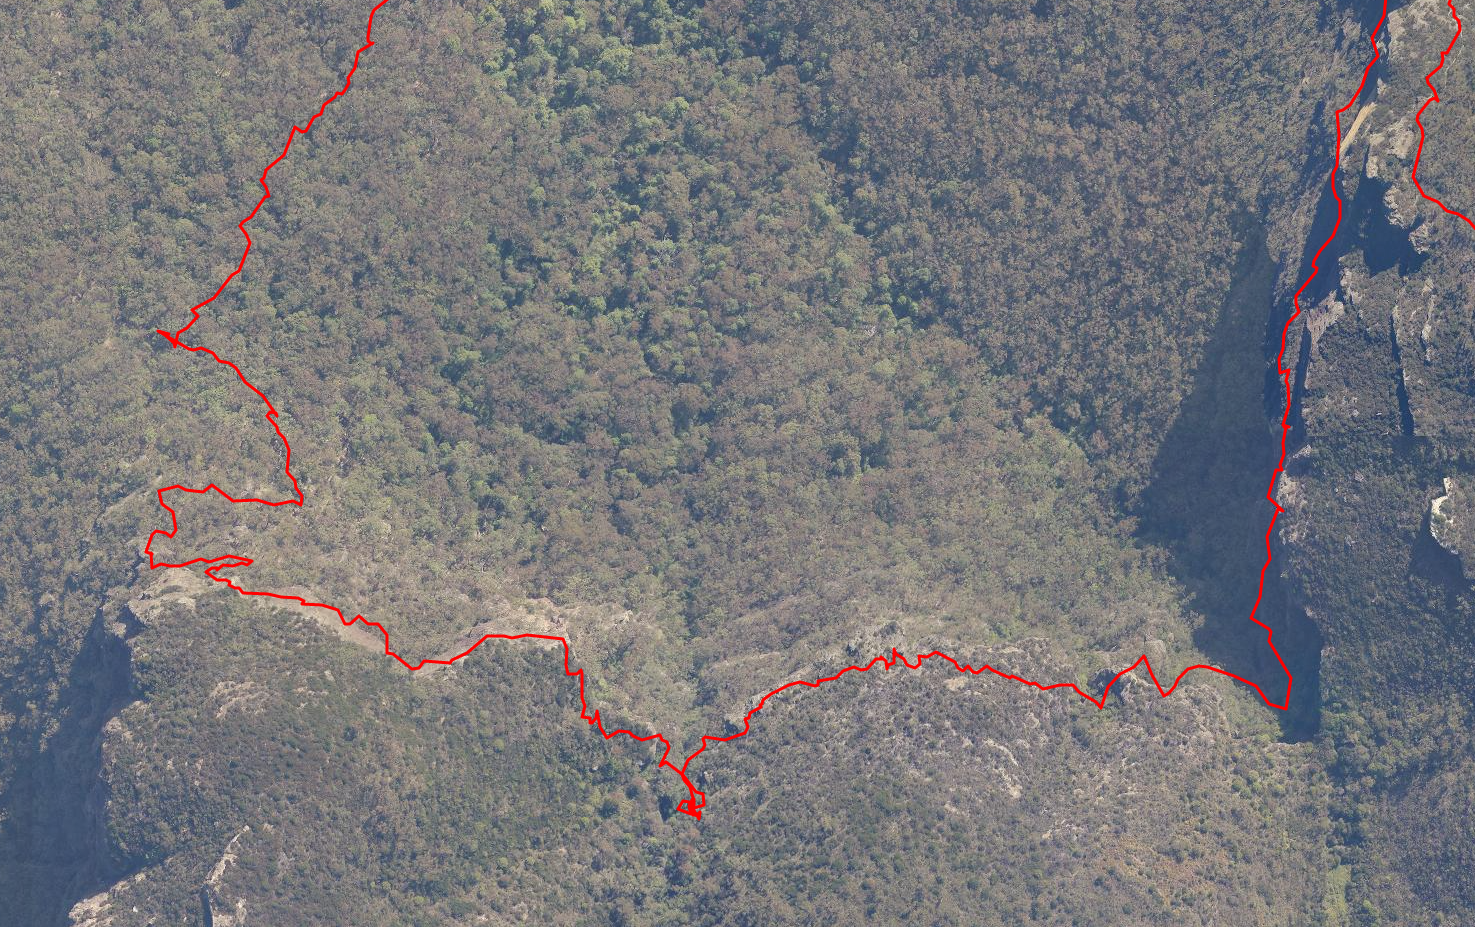
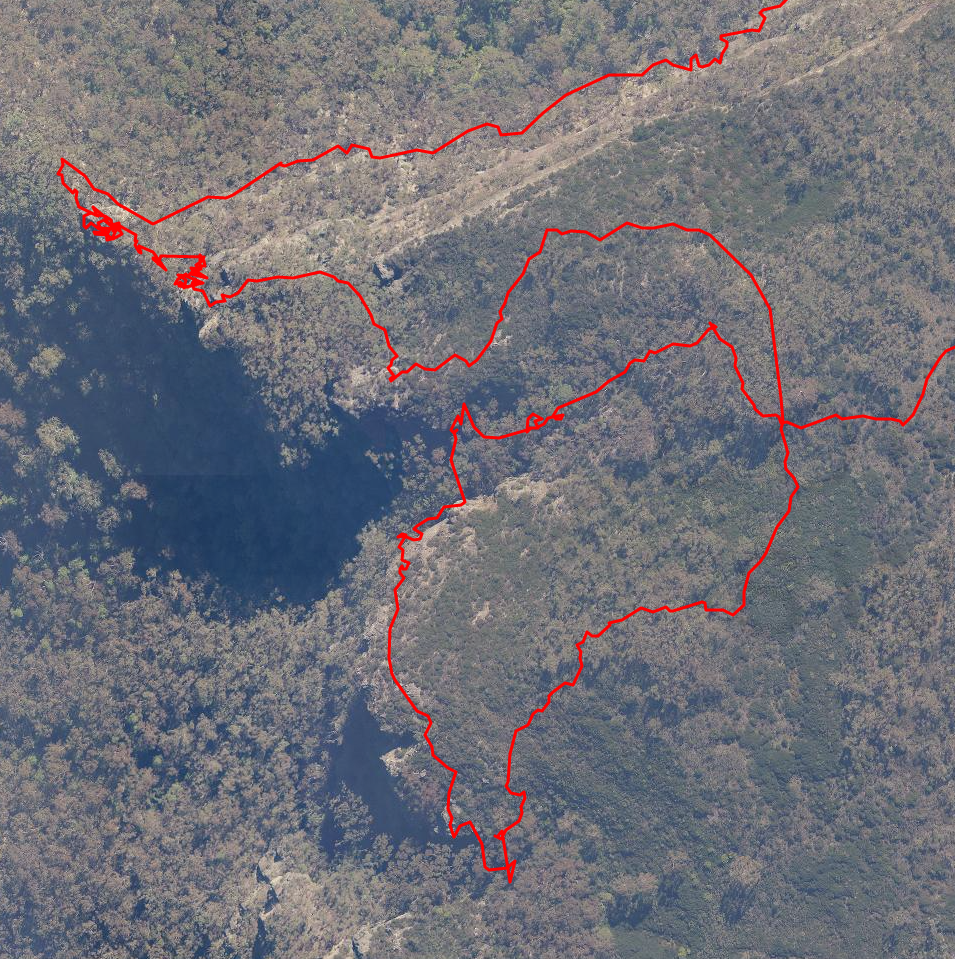
Route
Aerial view of the whole route. Note that the GPS tends to bounce around when close to cliffs, so some of this route needs to be treated with caution. It’s often impossible to tell which ledge the route is actually on.
To Diamond Head
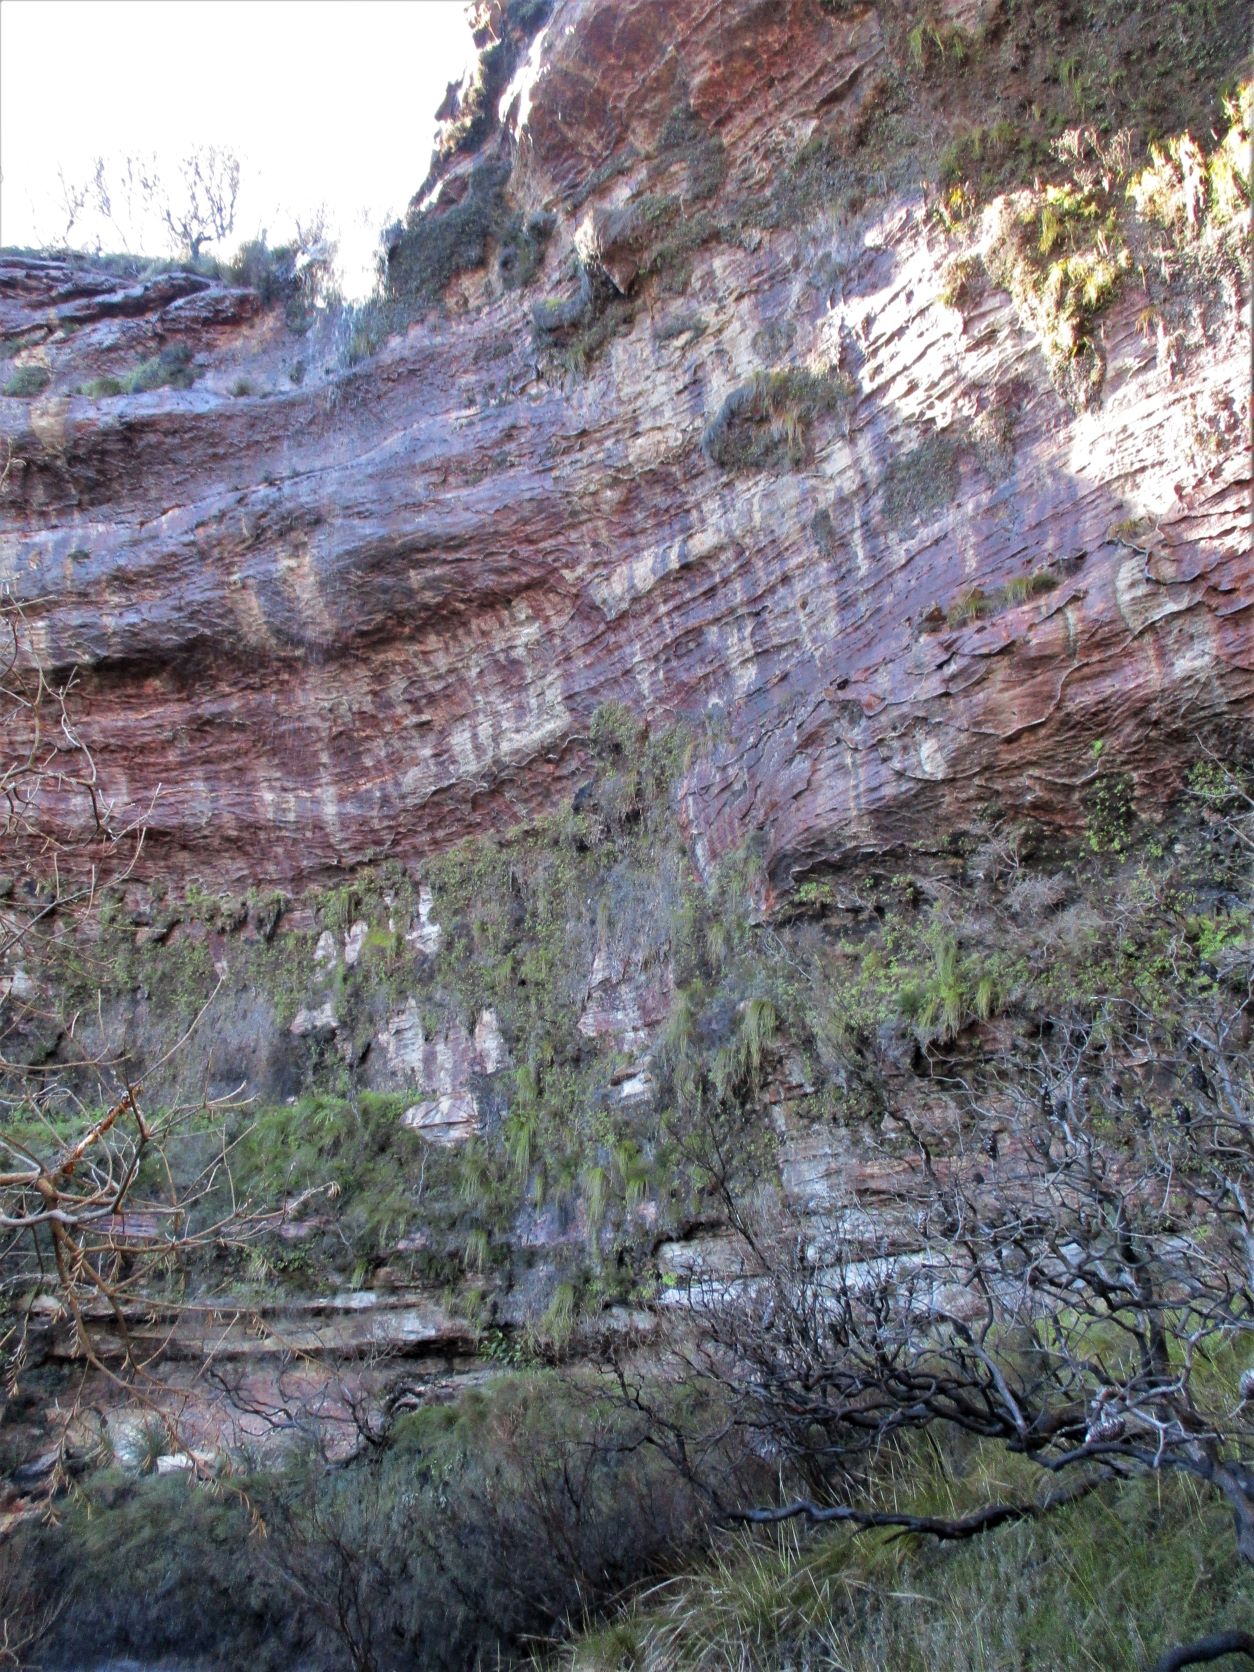
After parking at the Narrowneck gate, backtrack 50m to an obvious path on the western side, follow it easily down to the climbers ledge. There are a few narrow ledges with minimal exposure - they are all frequently negotiated by climbers.
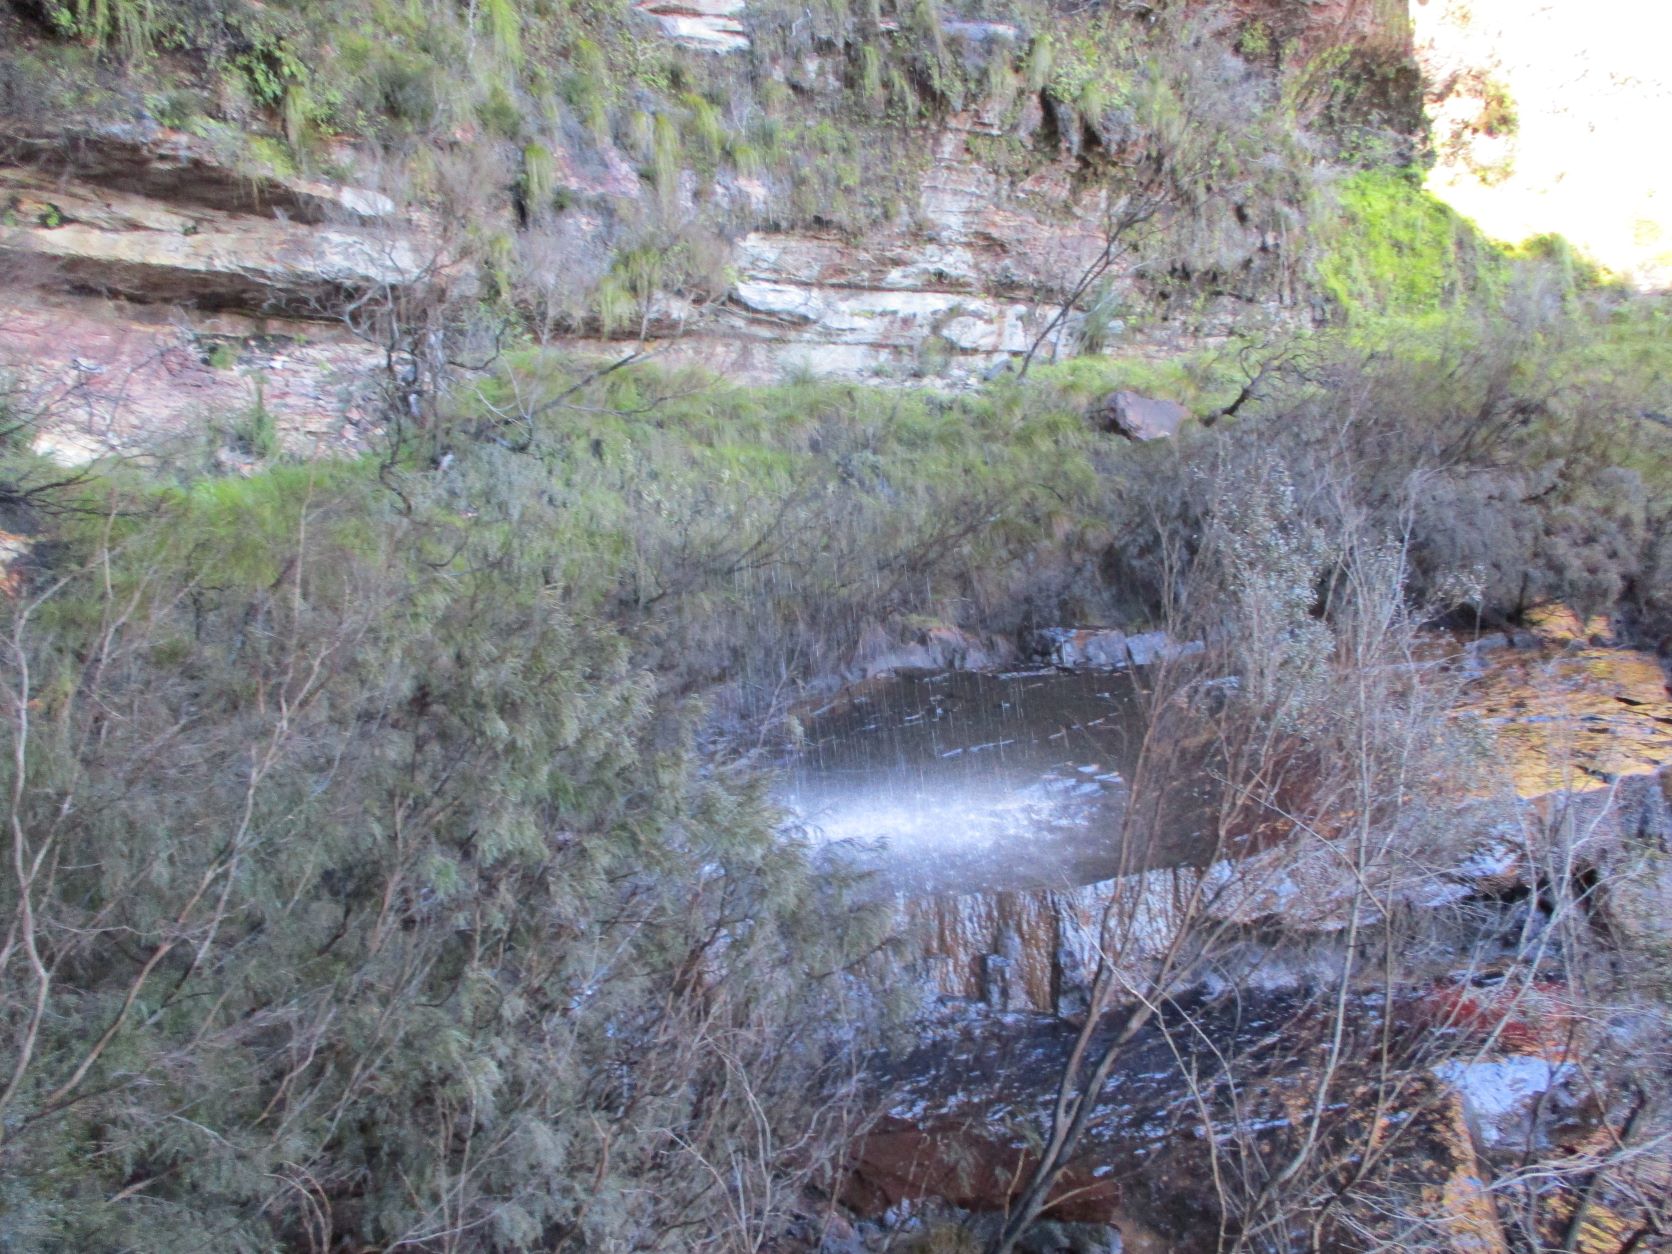
After passing various climbing areas, Diamond Falls…
…plunges into a sparkling pool.
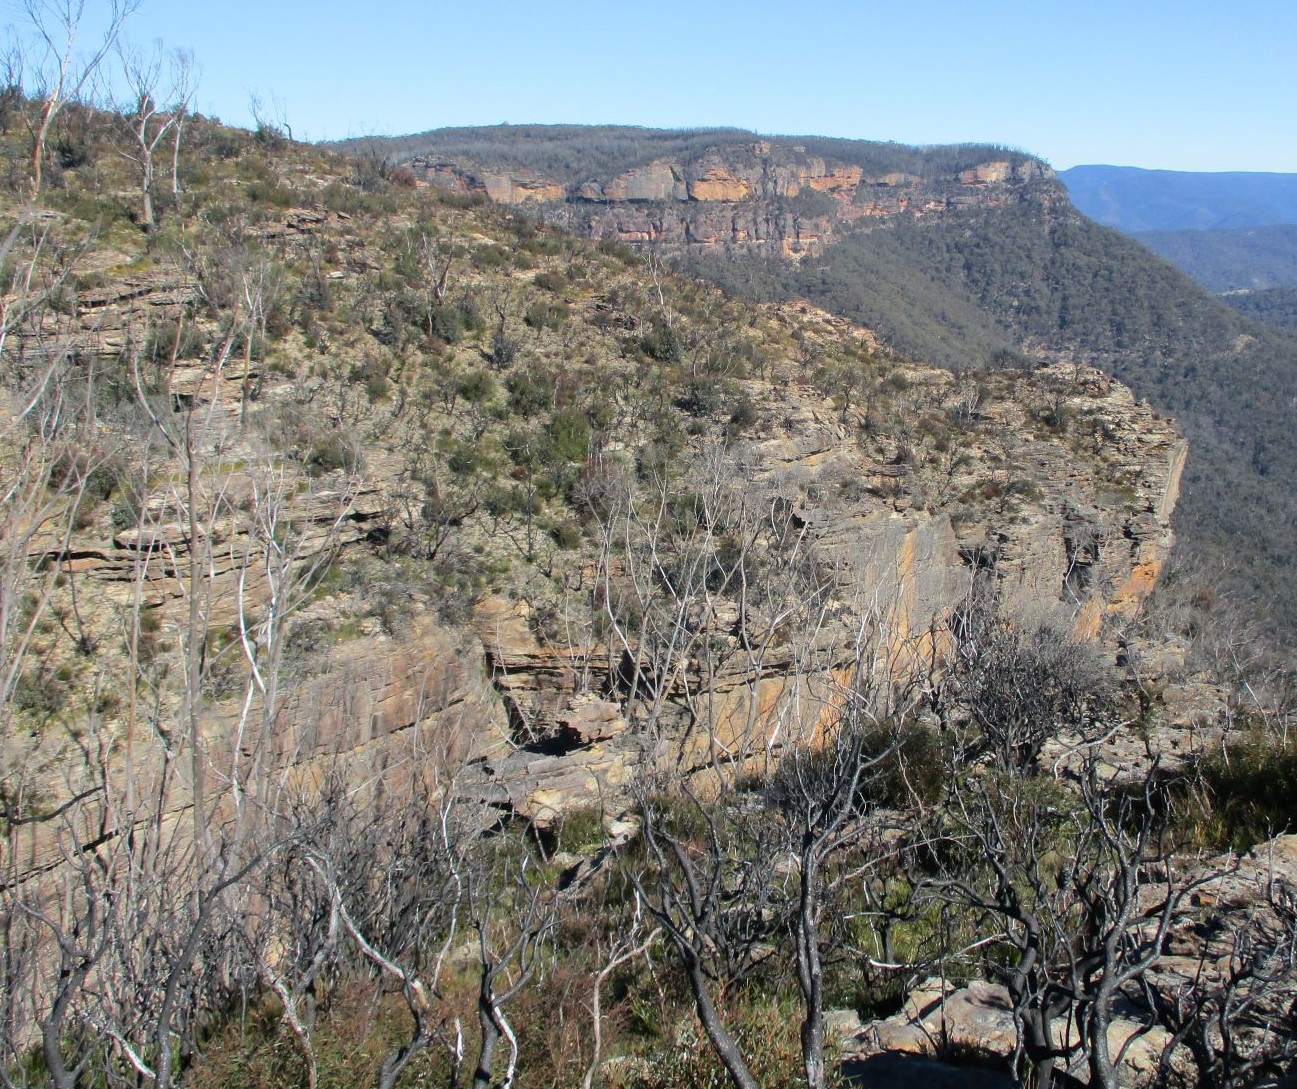
Negotiating a slightly slippery crossing of Diamond Creek, a further climbing area is passed, and the ledge continues with only occasional narrower sections. In 150m a wet grassy slope up towards the plateau is passed - it is an alternative route from the top (although a scrub bash higher up) and after a further 200m the nose is reached. The nose is obvious - the ledge abruptly fades to nothing…
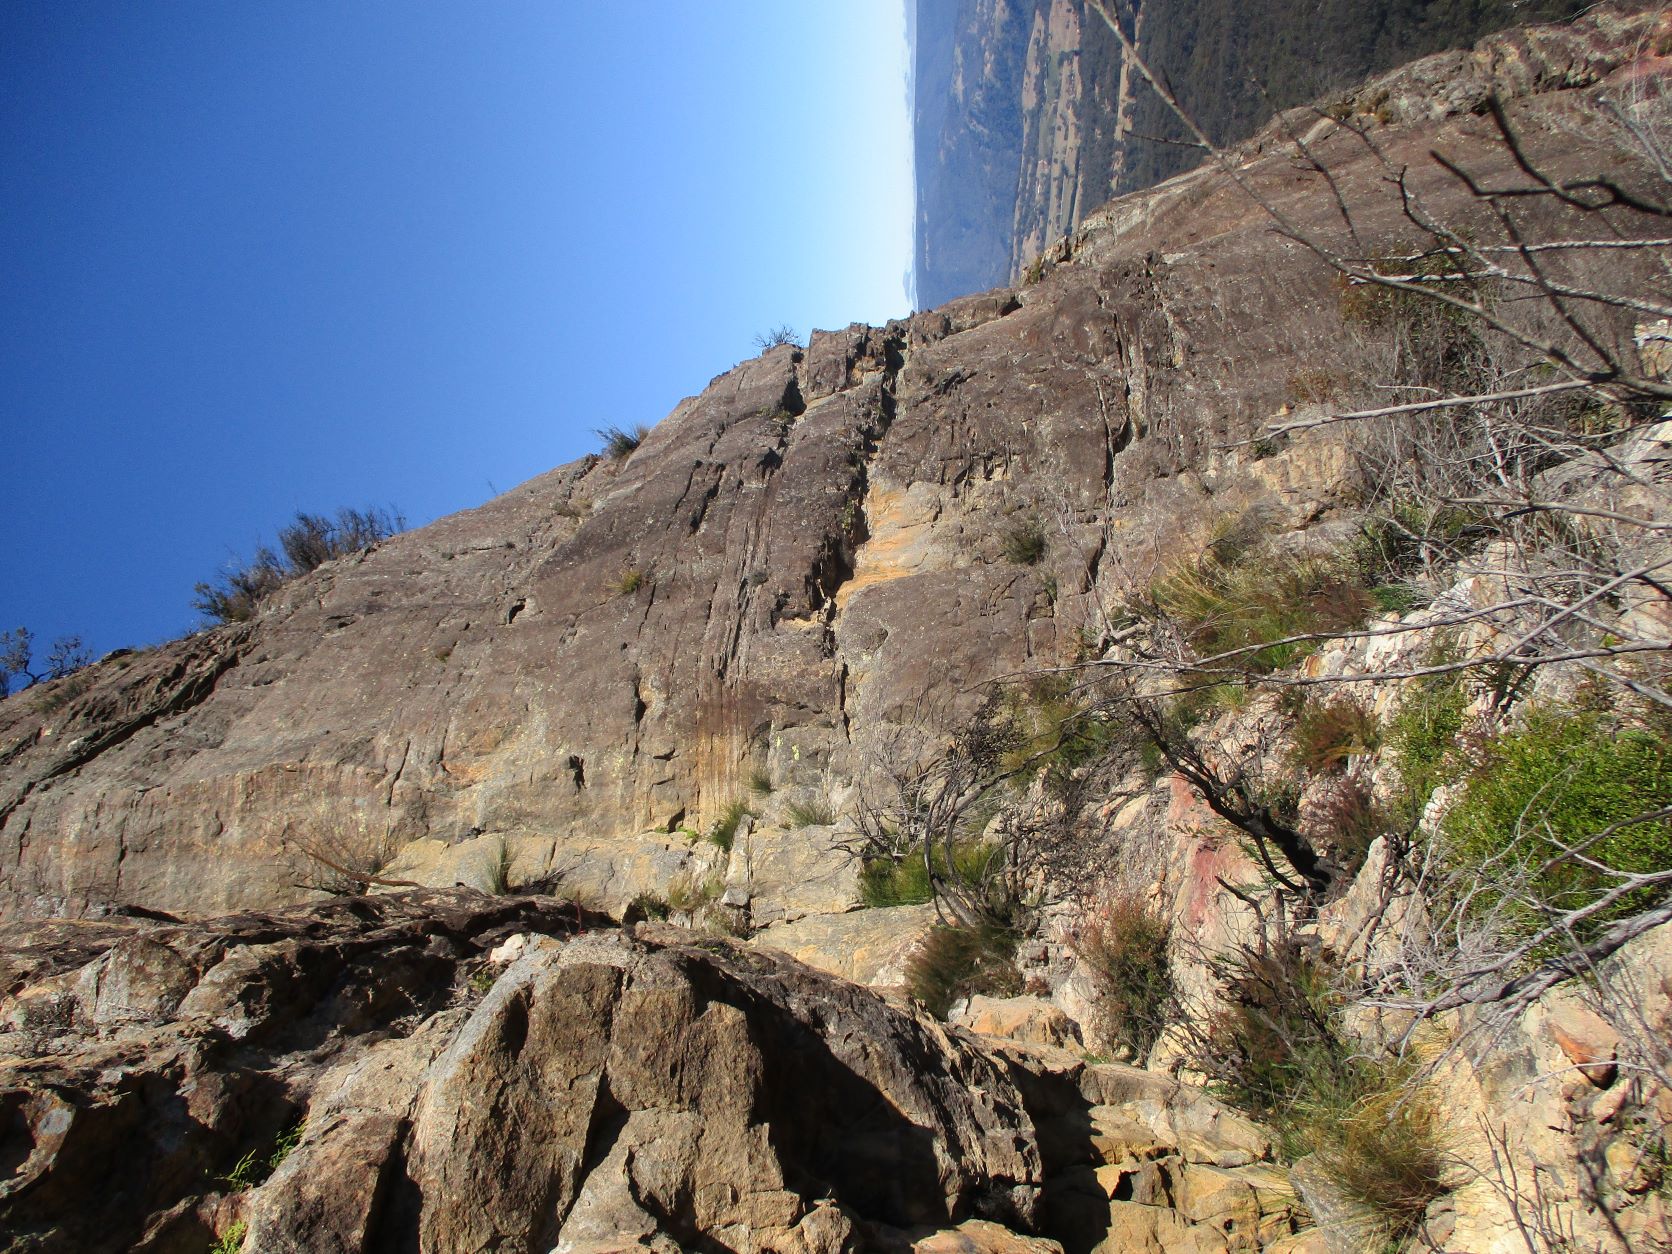
… the only alternatives are to backtrack or descend through the bluffs. The accuracy of the detailed route may have been impacted by proximity of the cliffs.
The complete route to the base is straightforward with virtually no exposure, although care is required. It is easily ascendable, the maximum vertical step down is never more than 2.5m and there are always solid holds available. If your proposed ascent/descent involves more than that, consider alternatives.
The first step down is to be found close to the ledge. After an inspection of the next ledge below that has options - it turns out that there aren’t many choices. It is probably the hardest step of the descent - about 2.5m with good footholds. The ledge below is scrubby, so no photo. Thereafter, a bash 10m west (not much choice about direction) finds options, the best being a sloping 2-3m rock that reachs an easy step to get down to the next broad level.
A quick recce gets to a series of steep steps with trivial exposure that loses 15+ metres of vert. It looks precipitous from below, but feels safe all the way down…
… and finally a small step across reaches the talus.
Descending the talus here soon reachs a second cliff line. Traversing East away (from the nose) for 150m finds an easy 2-3m slide down to the final talus slope.
To Redledge Pass
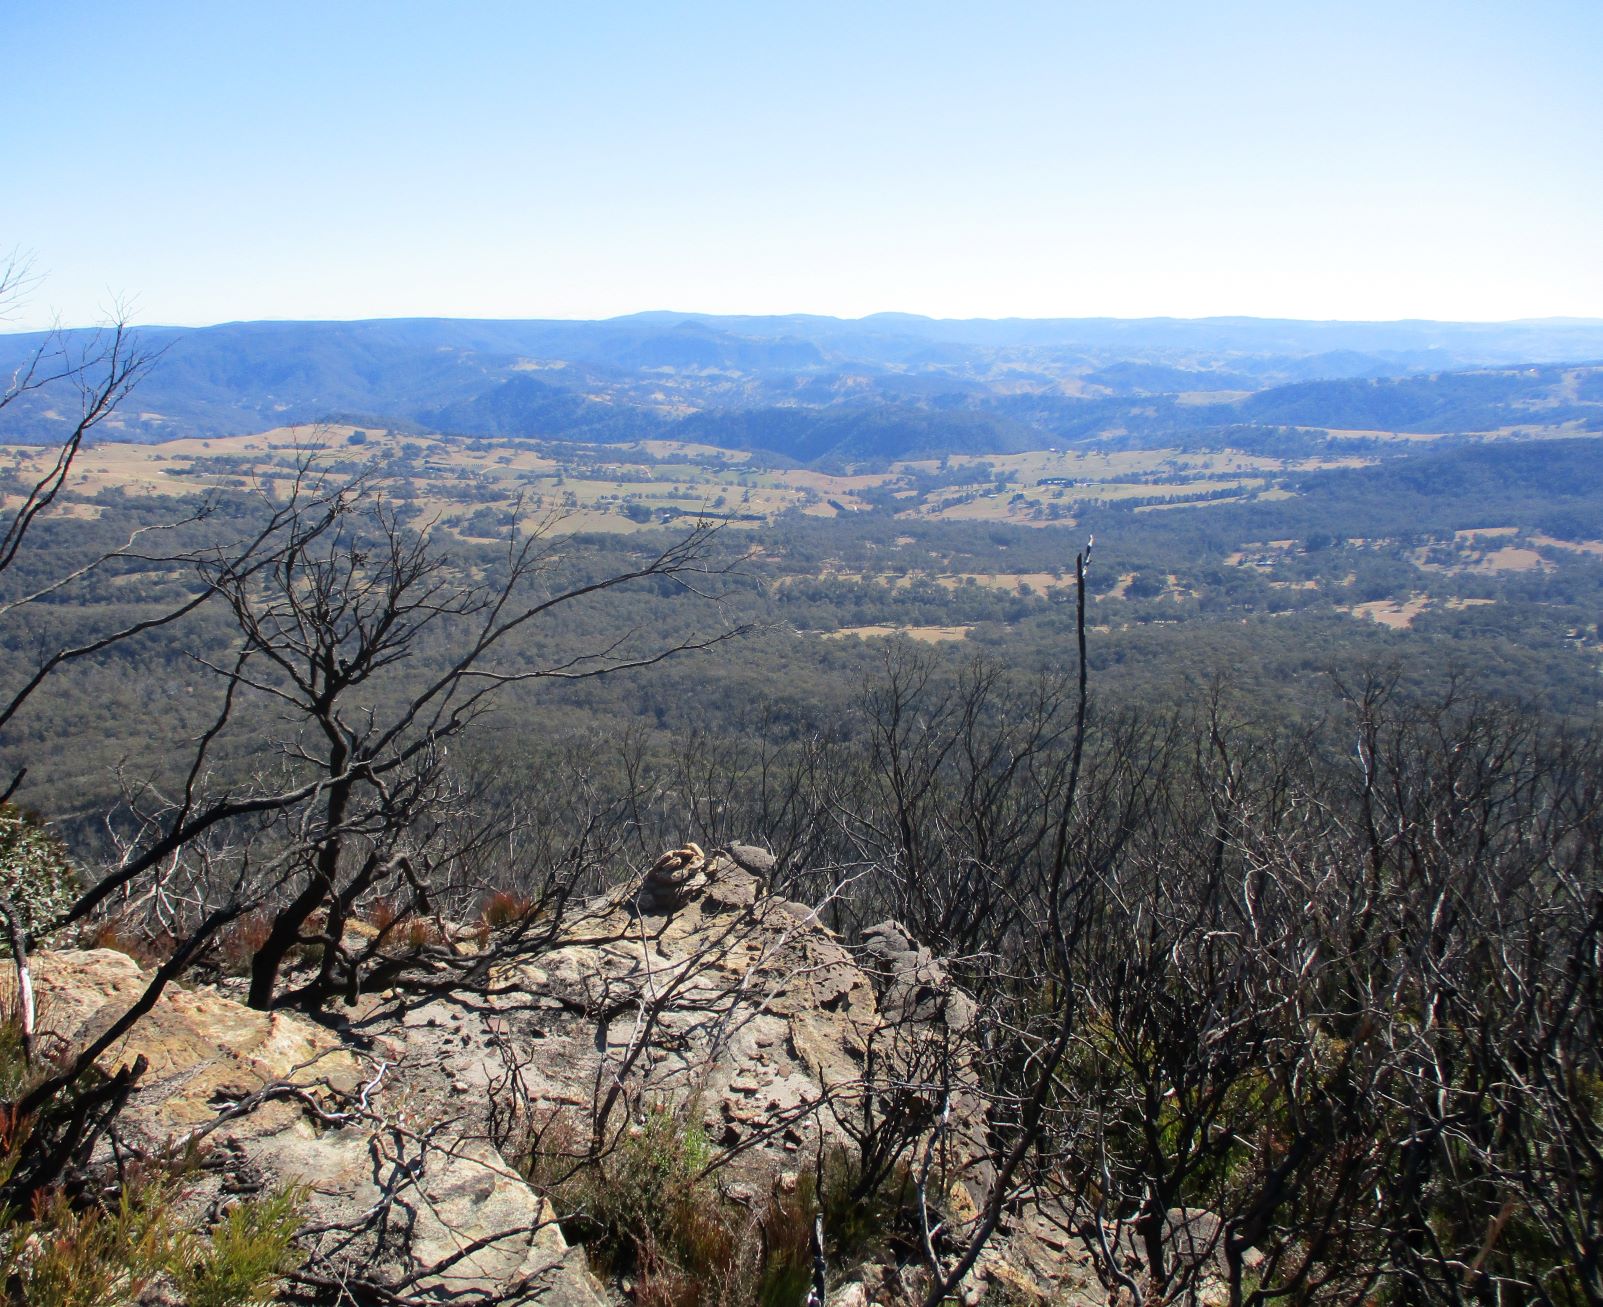
From here options include descending steeply to the tramway and heading NE to Devils Hole (& back to Katoomba) or SW towards Redledge Pass, or for those wanting a bushbash head directly towards Redledge either down into Corral Creek, or by traversing along the base of the cliff.
It’s probably more pleasant to descend through 250m of contours, follow the tramway and then regain those contours, to get to Redledge Pass. It looks circuitous, but the alternatives weren’t appealing.
After ascending 250m, the chockstone that marks Redledge Pass is a welcome sight.
A cool drink from Corral Creek at the crossing and a quick snack, followed by the steep but tracked ascent up the ferny gully and through the fallen logs to the plateau took 10 minutes. Across the tops was easy going through the grasses and banksia skeletons - remnants from the fires of Jan 2020.
Rock Pile Pass
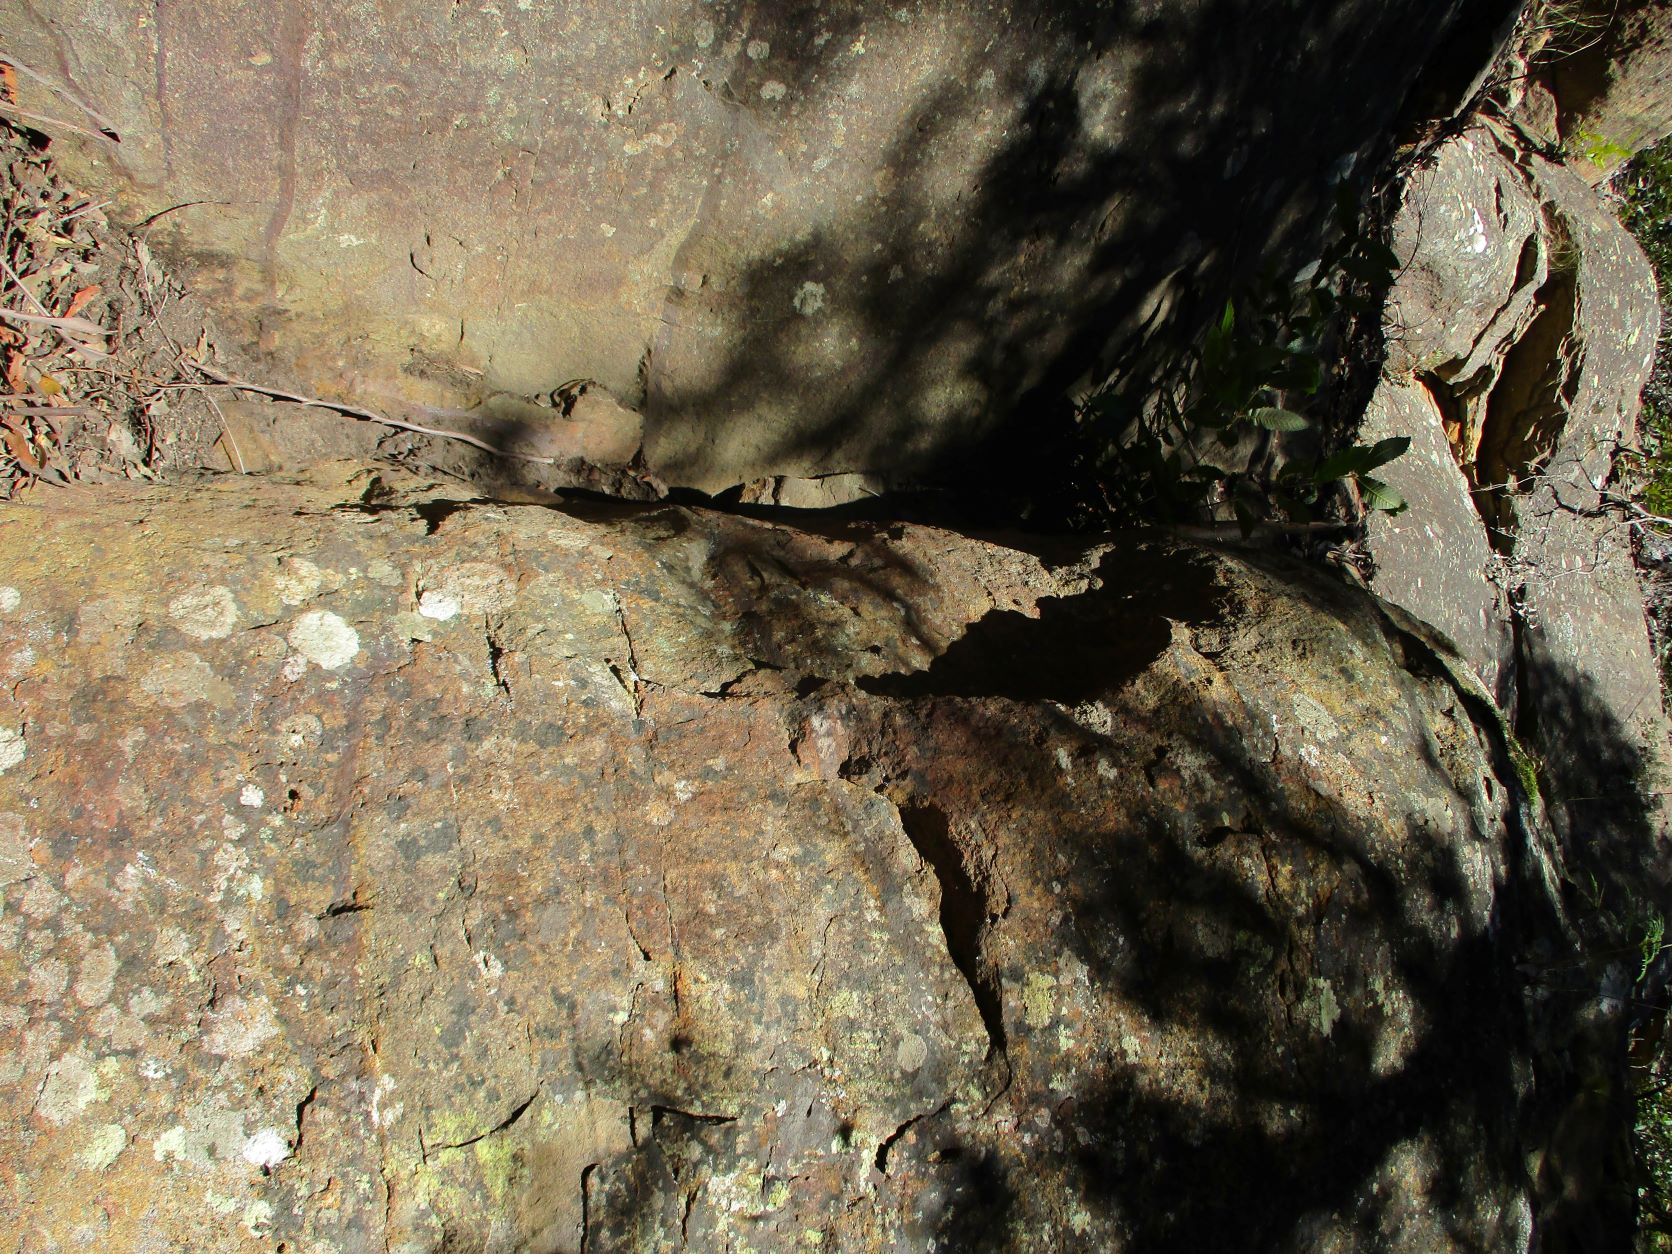
Intent on exploring, there are two descents and one ascent (the ‘real’ Rock Pile Pass) in the Rock Pile Pass area. The descents are an easy wide gully, and an abseil/climb route - the ‘fake’ Rock Pile Pass.
The first descent was down the wide easy gully is less than 100m South of the nose. It leads down to the chocolate ledge. Surprisingly, it didn’t have an obvious path, but this might be because people spread out… because it’s so wide & easy. However, when it reached the ledge there were tracks going both left and right under the wide overhangs.
Following left (South) past some climbers ropes very quickly gets to the ‘real’ Rock Pile Pass (easily recognised by the presence of a rock pile)…
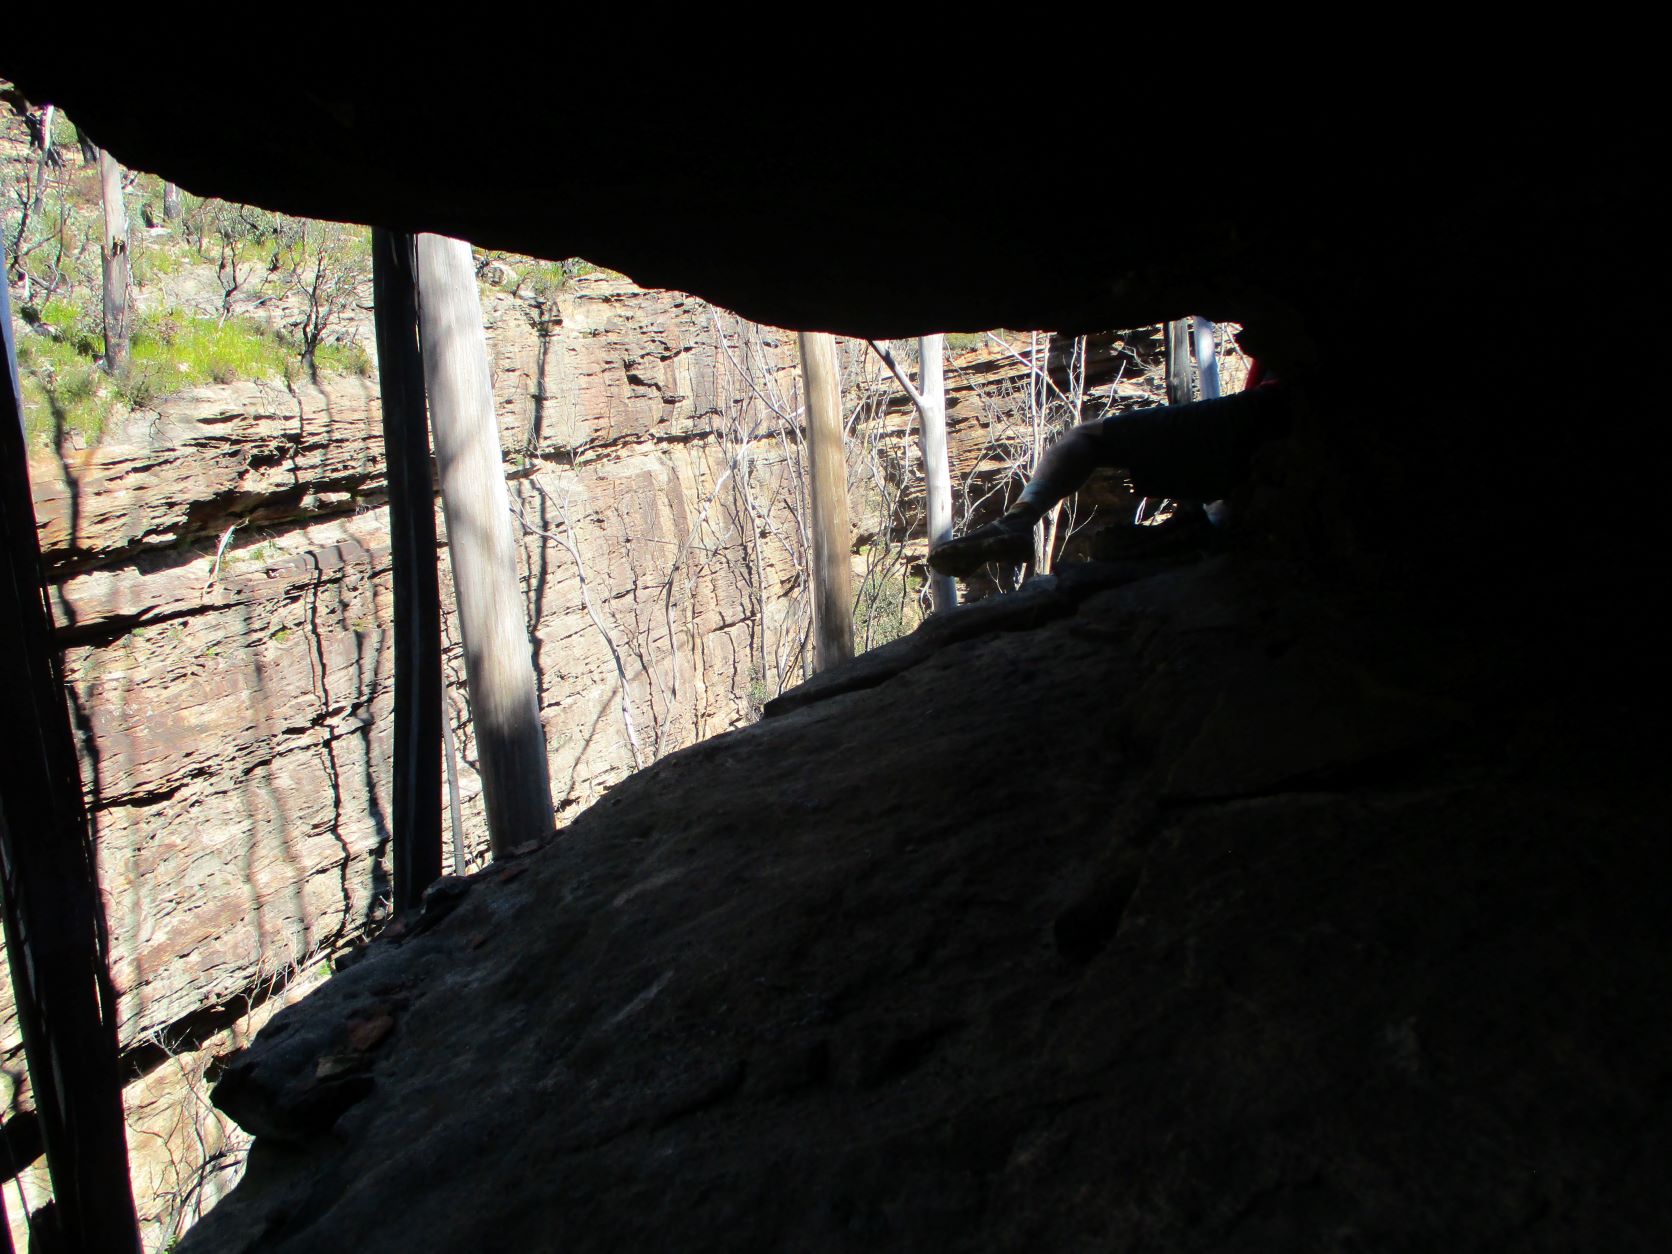
…and the ledge crawl afterwards.
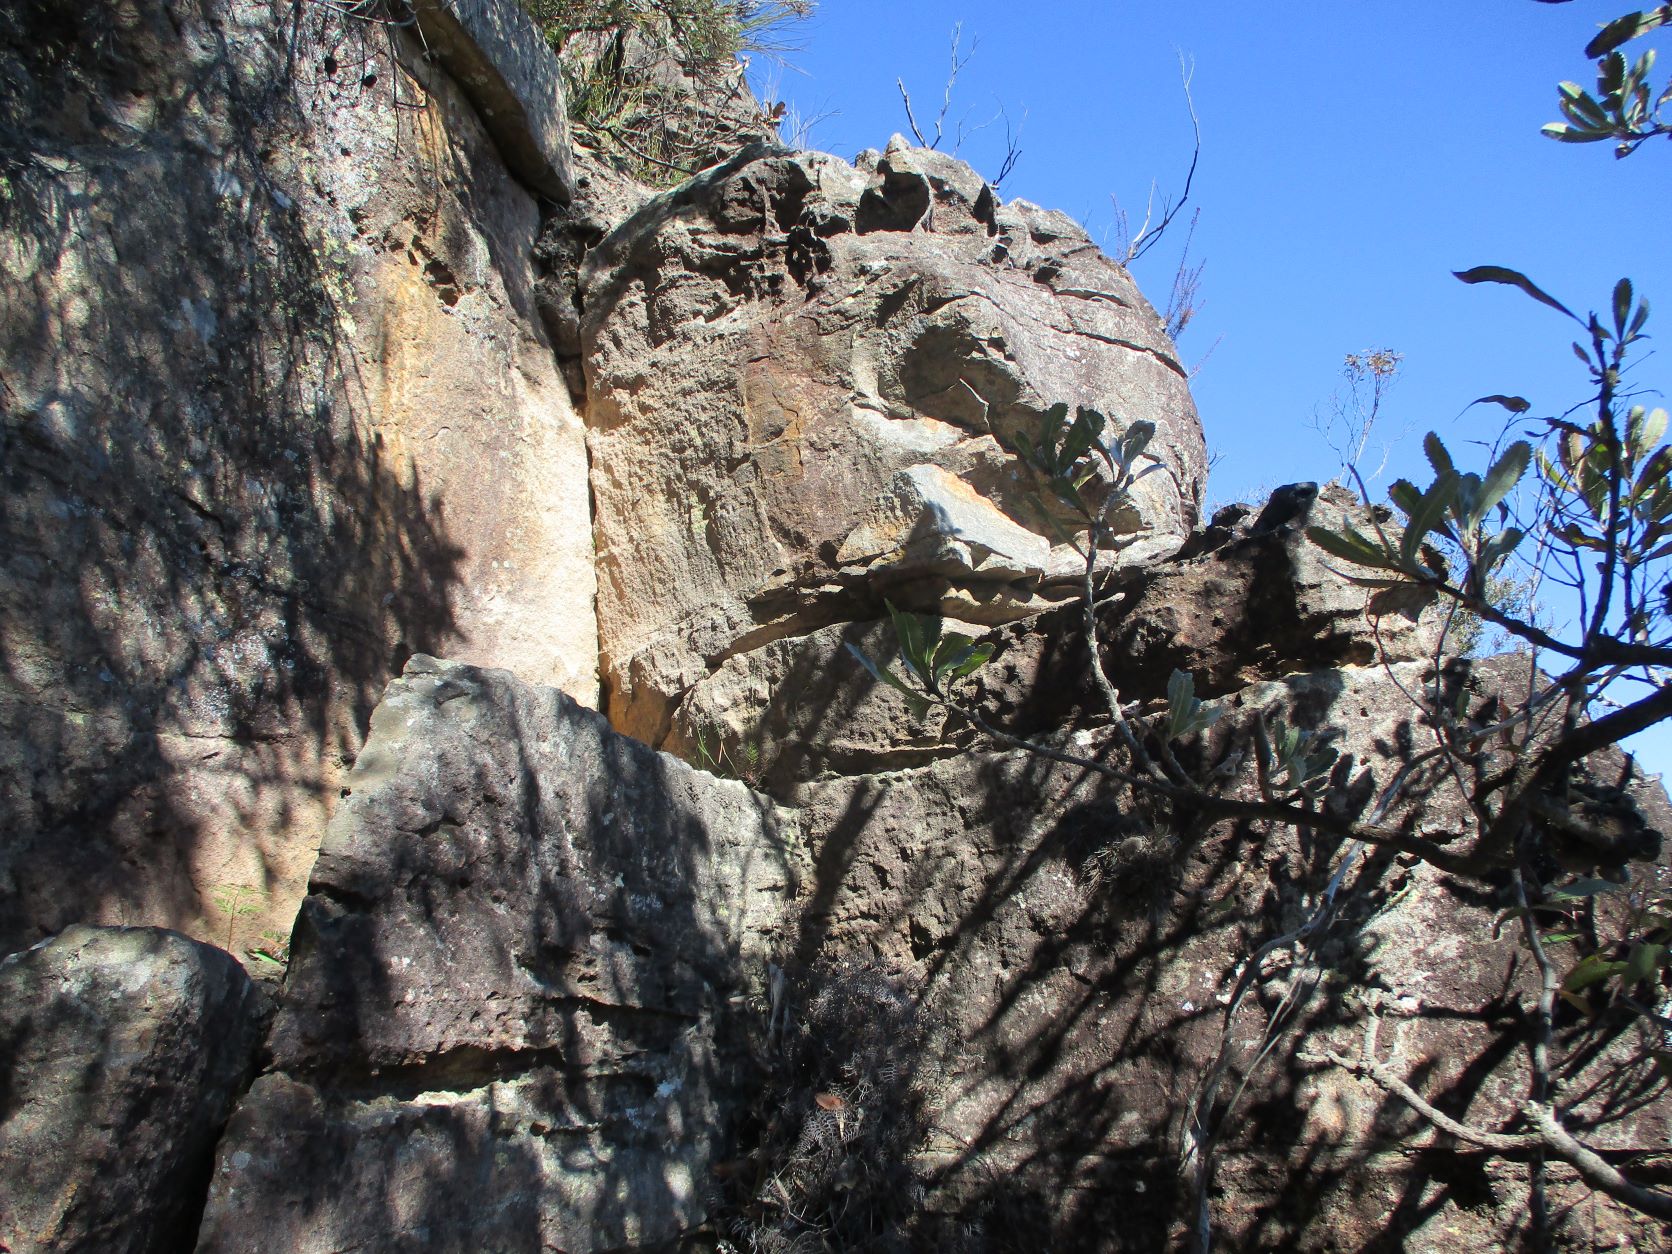
After easily ascending to the plateau, the top of the pass is marked by another Rock Pile - on top of the irregular boulder.
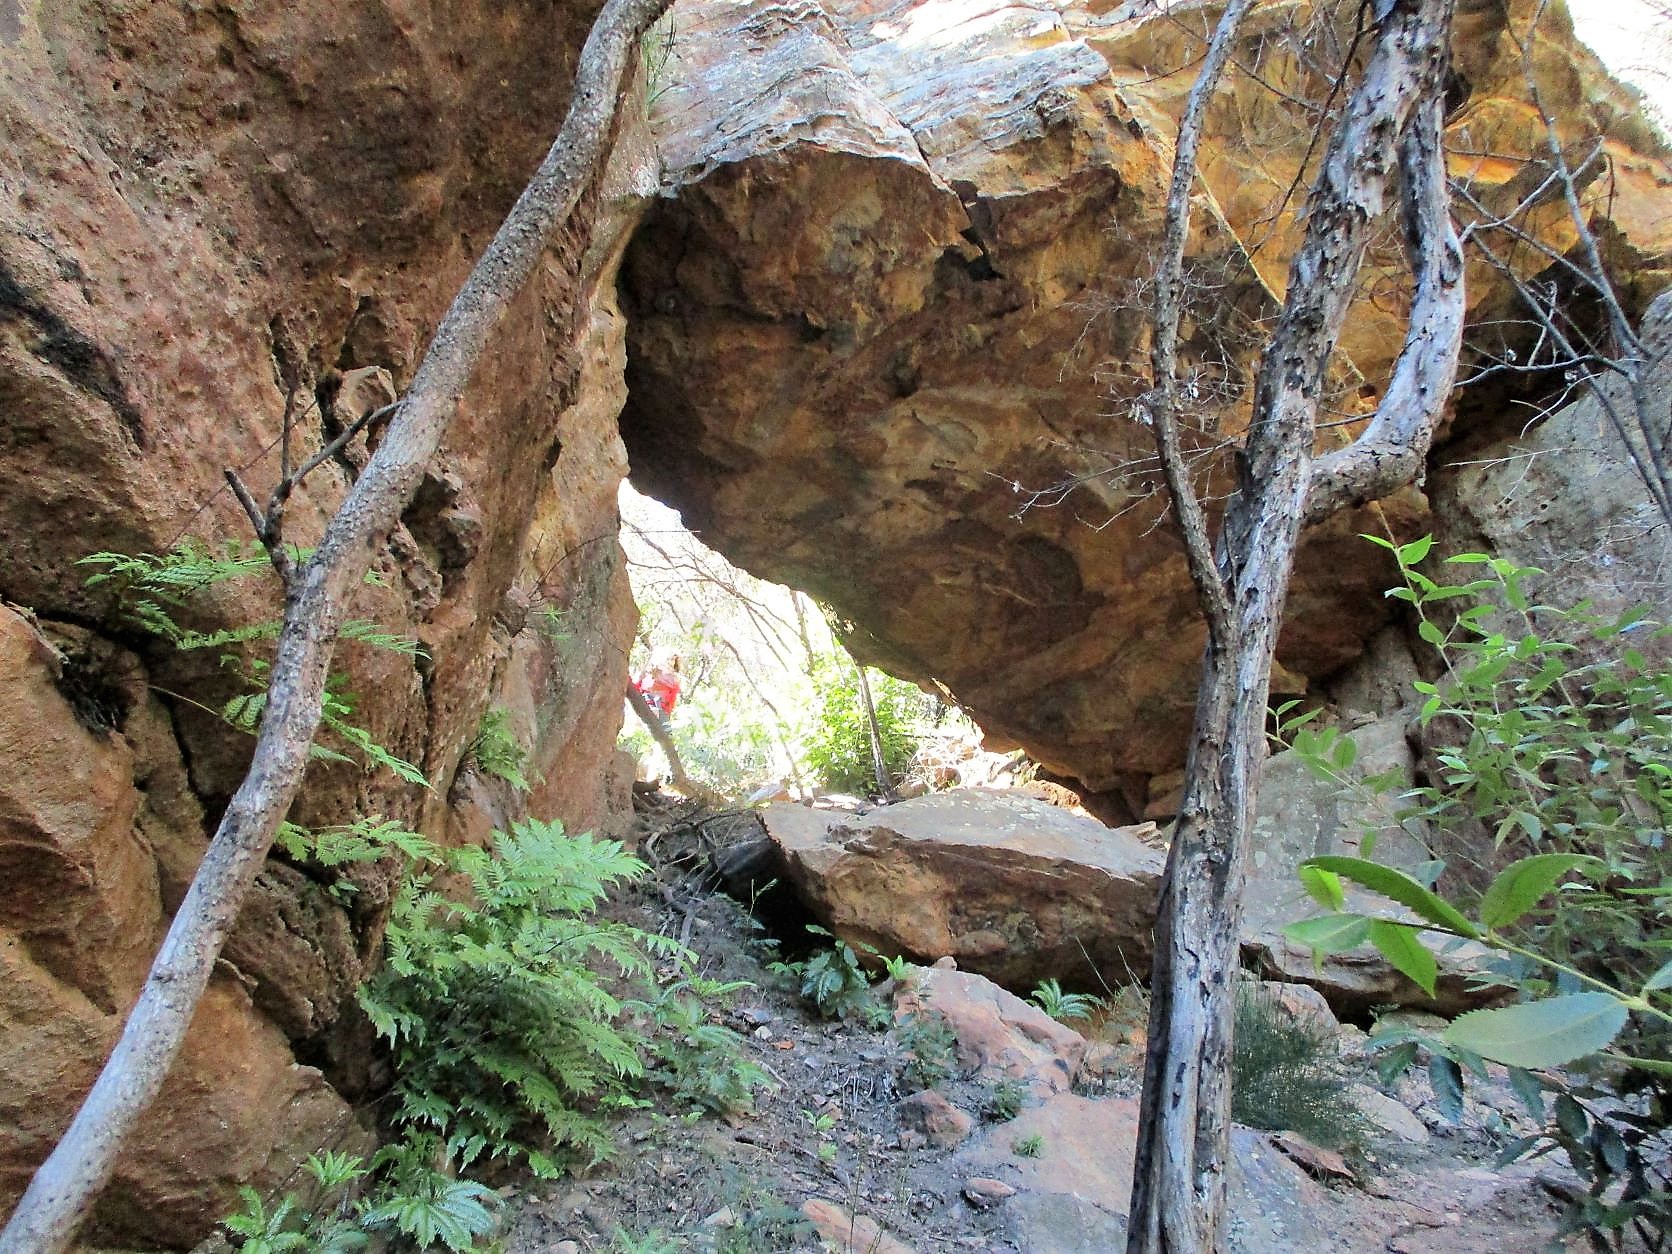
Rock Pile Nose
After crossing the top of the wide easy gully recently descended, heading for the nose where the route down starts off promisingly with the appearance of a small cairn.
Dropping off to the right and following a creekbed for 80m leads gently down through easy bluffs. However, the next ledge has an 8m drop. After recce left & right (it isn’t very far in either direction) there is no alternative but to downclimb or abseil.
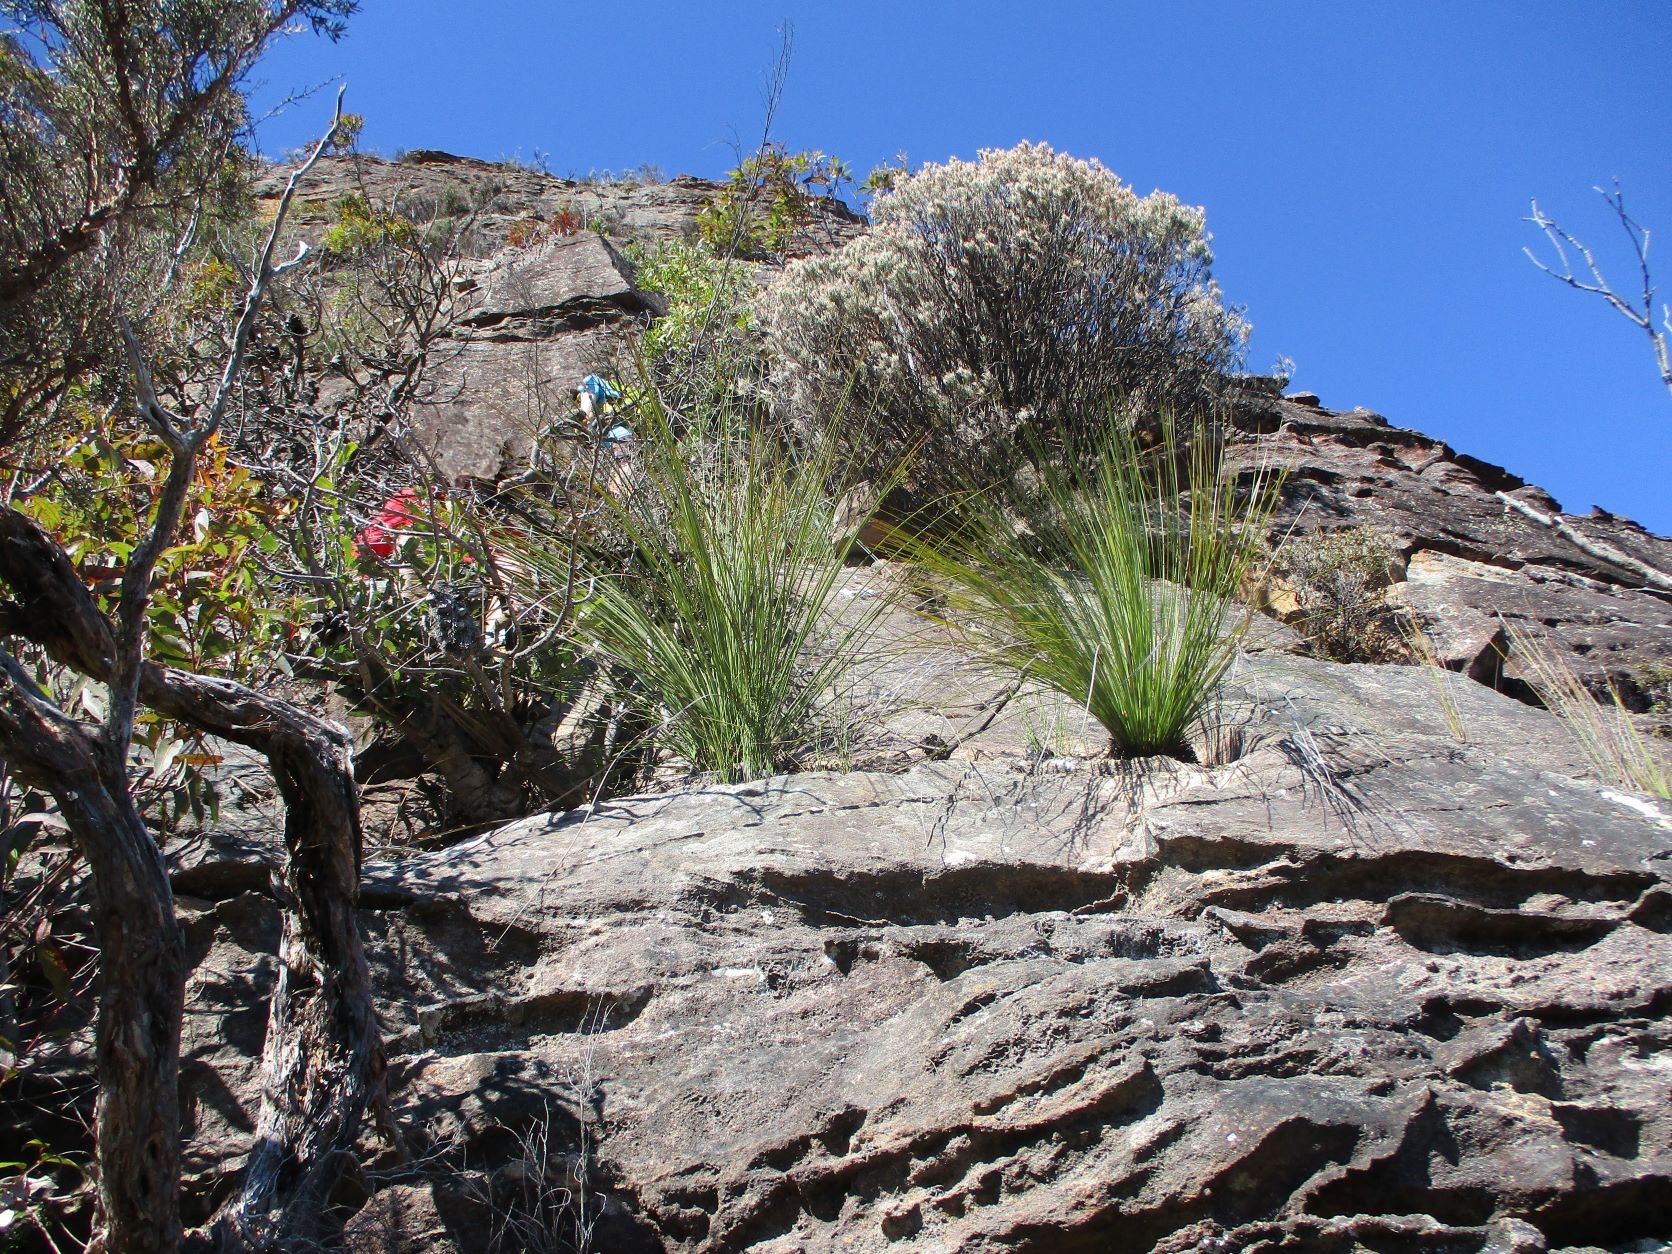
There are a couple of banksia shaped anchor points close by so a 25m rope is sufficient. The last 4-5 meters is overhung, so a hand-over-hand isn’t an option.
An alternative is to downclimb (not recommended) this face. Probably dead easy if top-roped, but if free-climbing it’s just far enough for a potentially sub-optimal outcome.
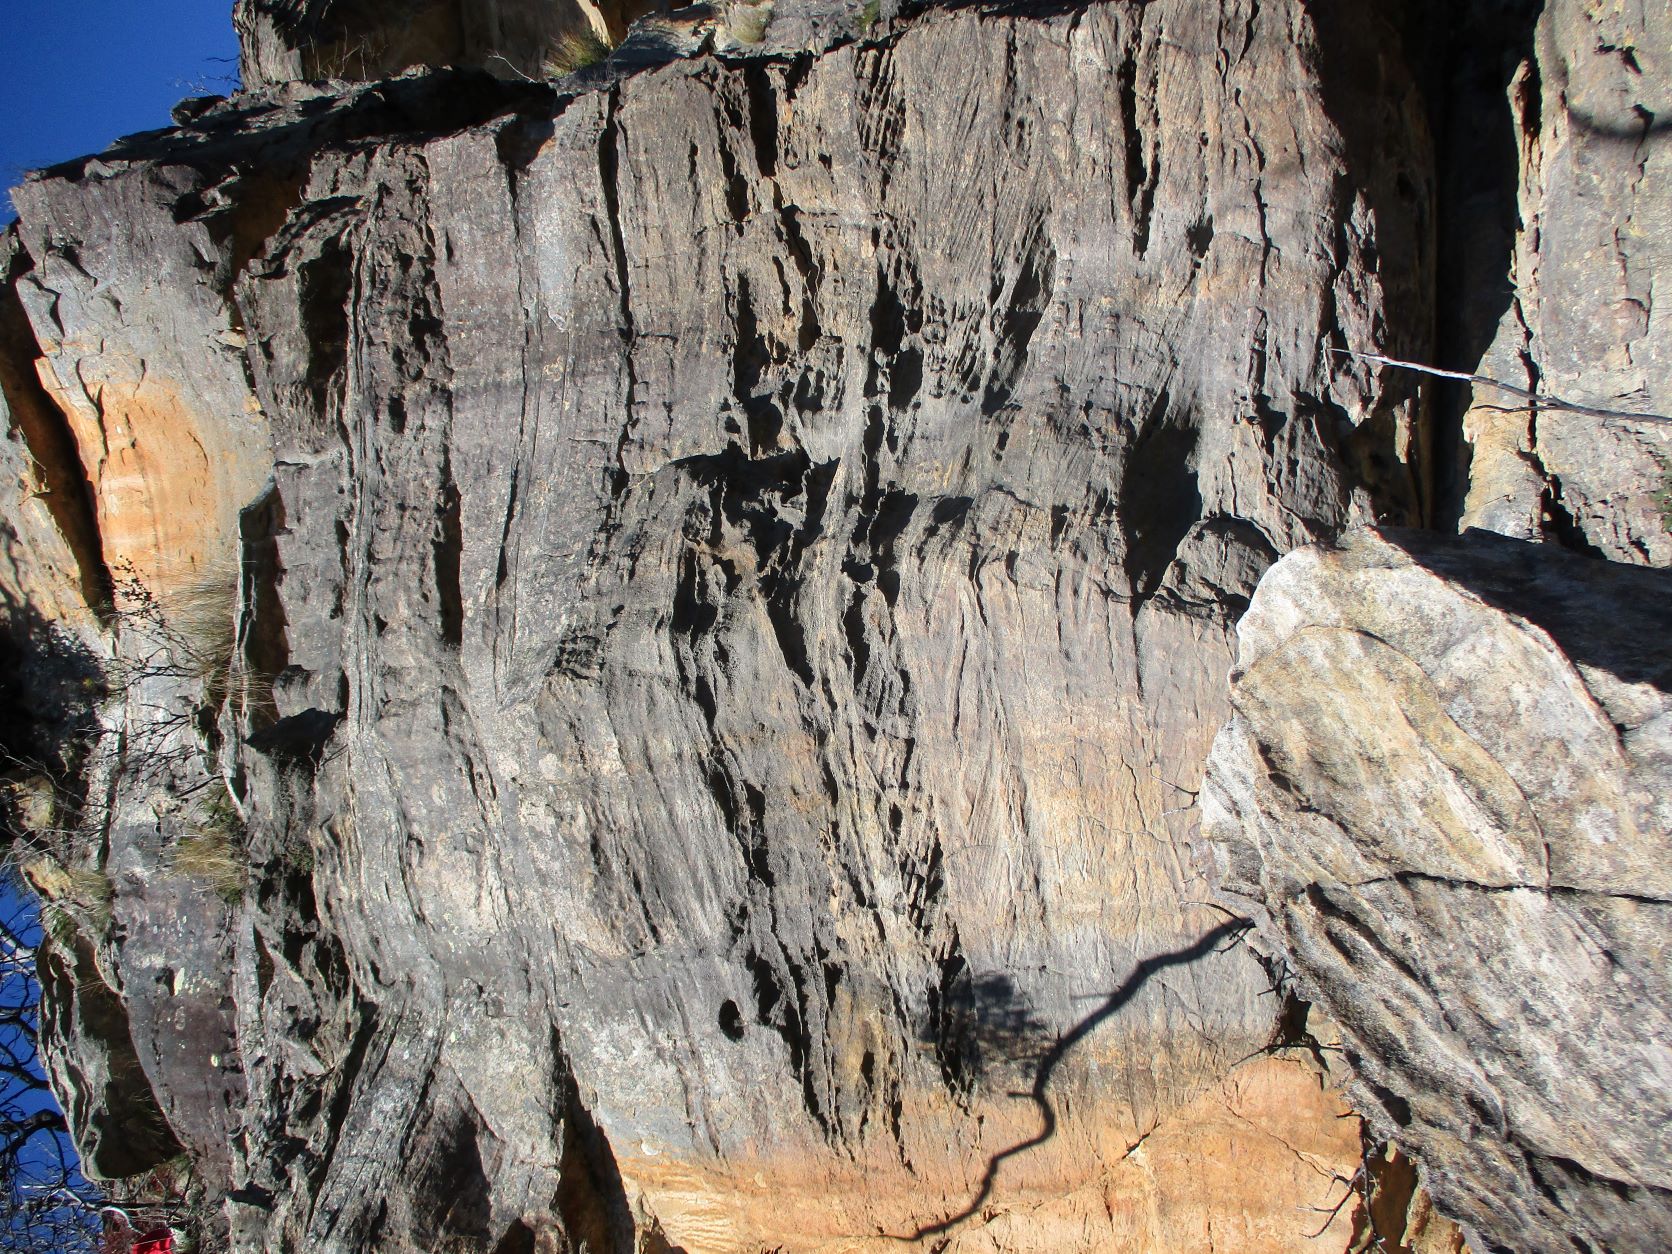
The overhung abseil is the orange wall 5m to the left of this face, with the anchor point by the red backpack.
After coiling the rope, a quick investigation further NE for alternatives to the abseil found a couple of climbs of similar difficulty - also not recommended.
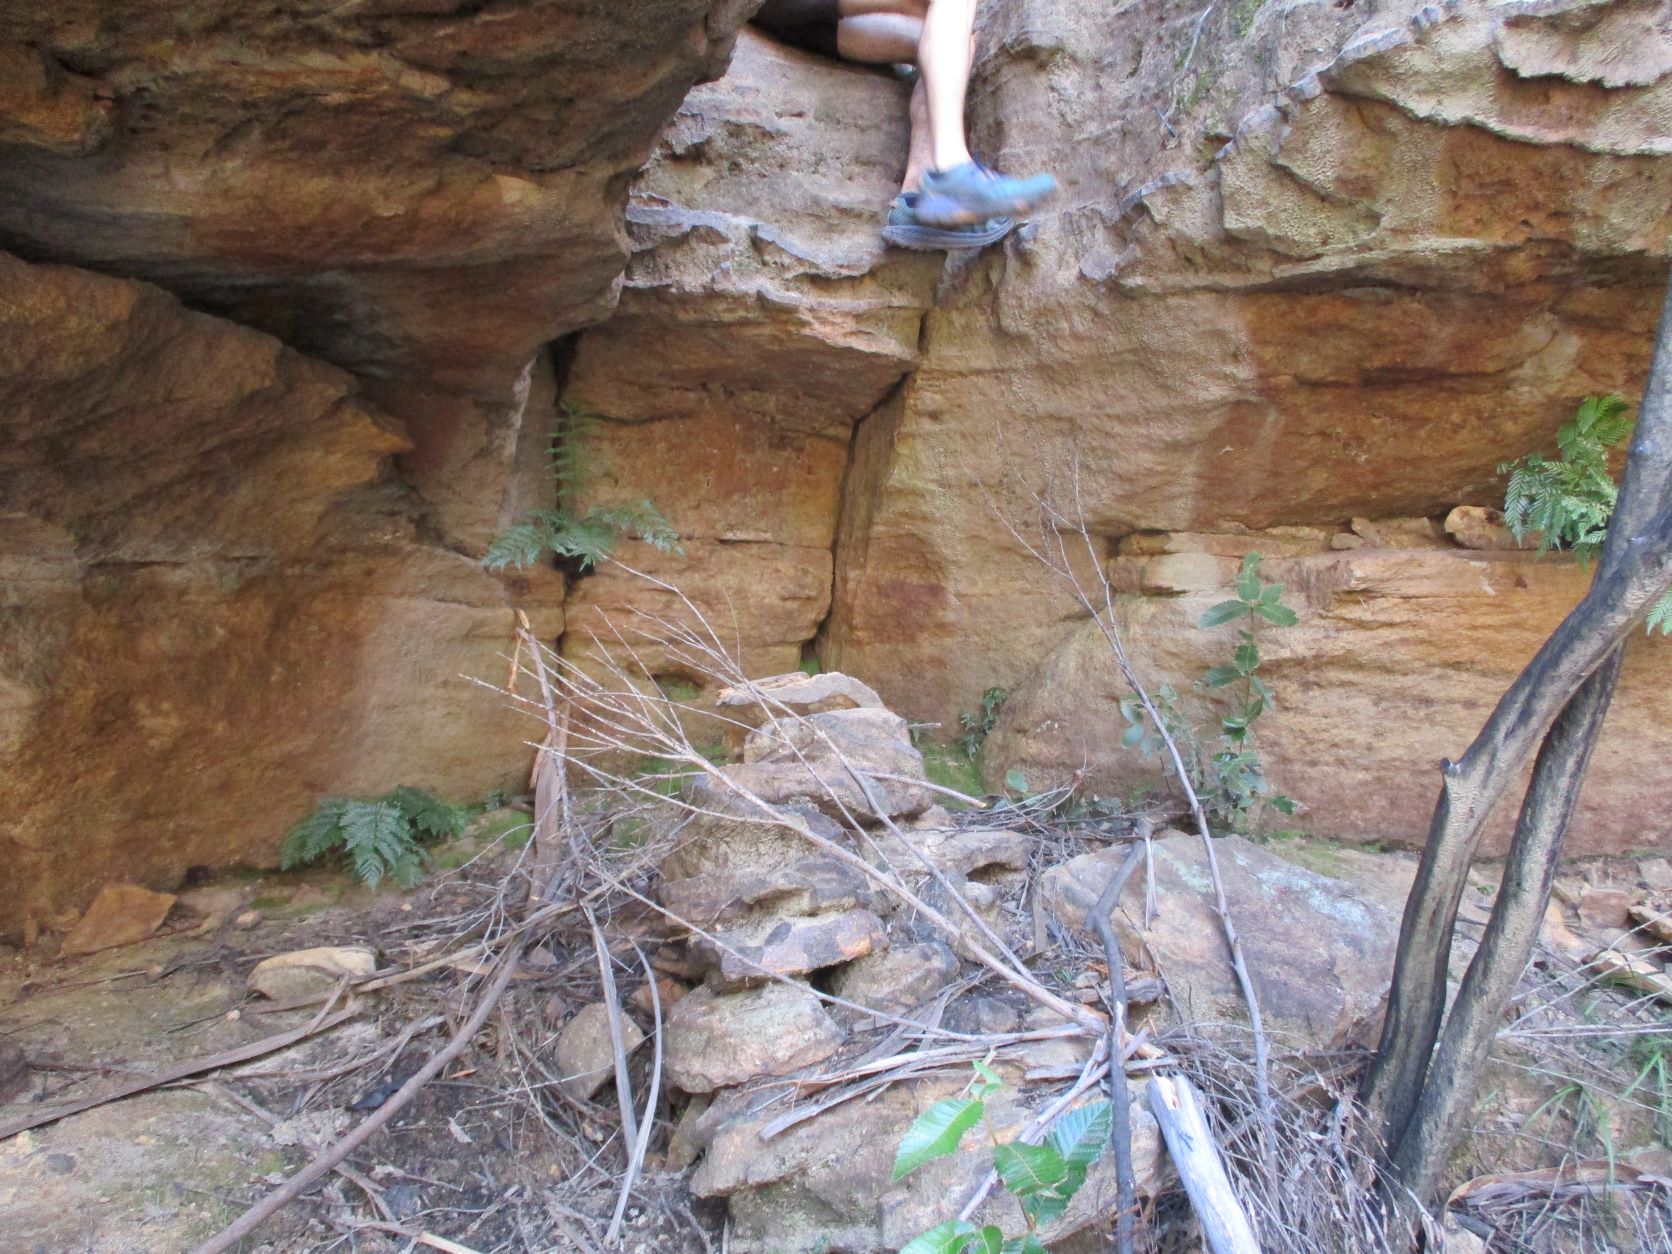
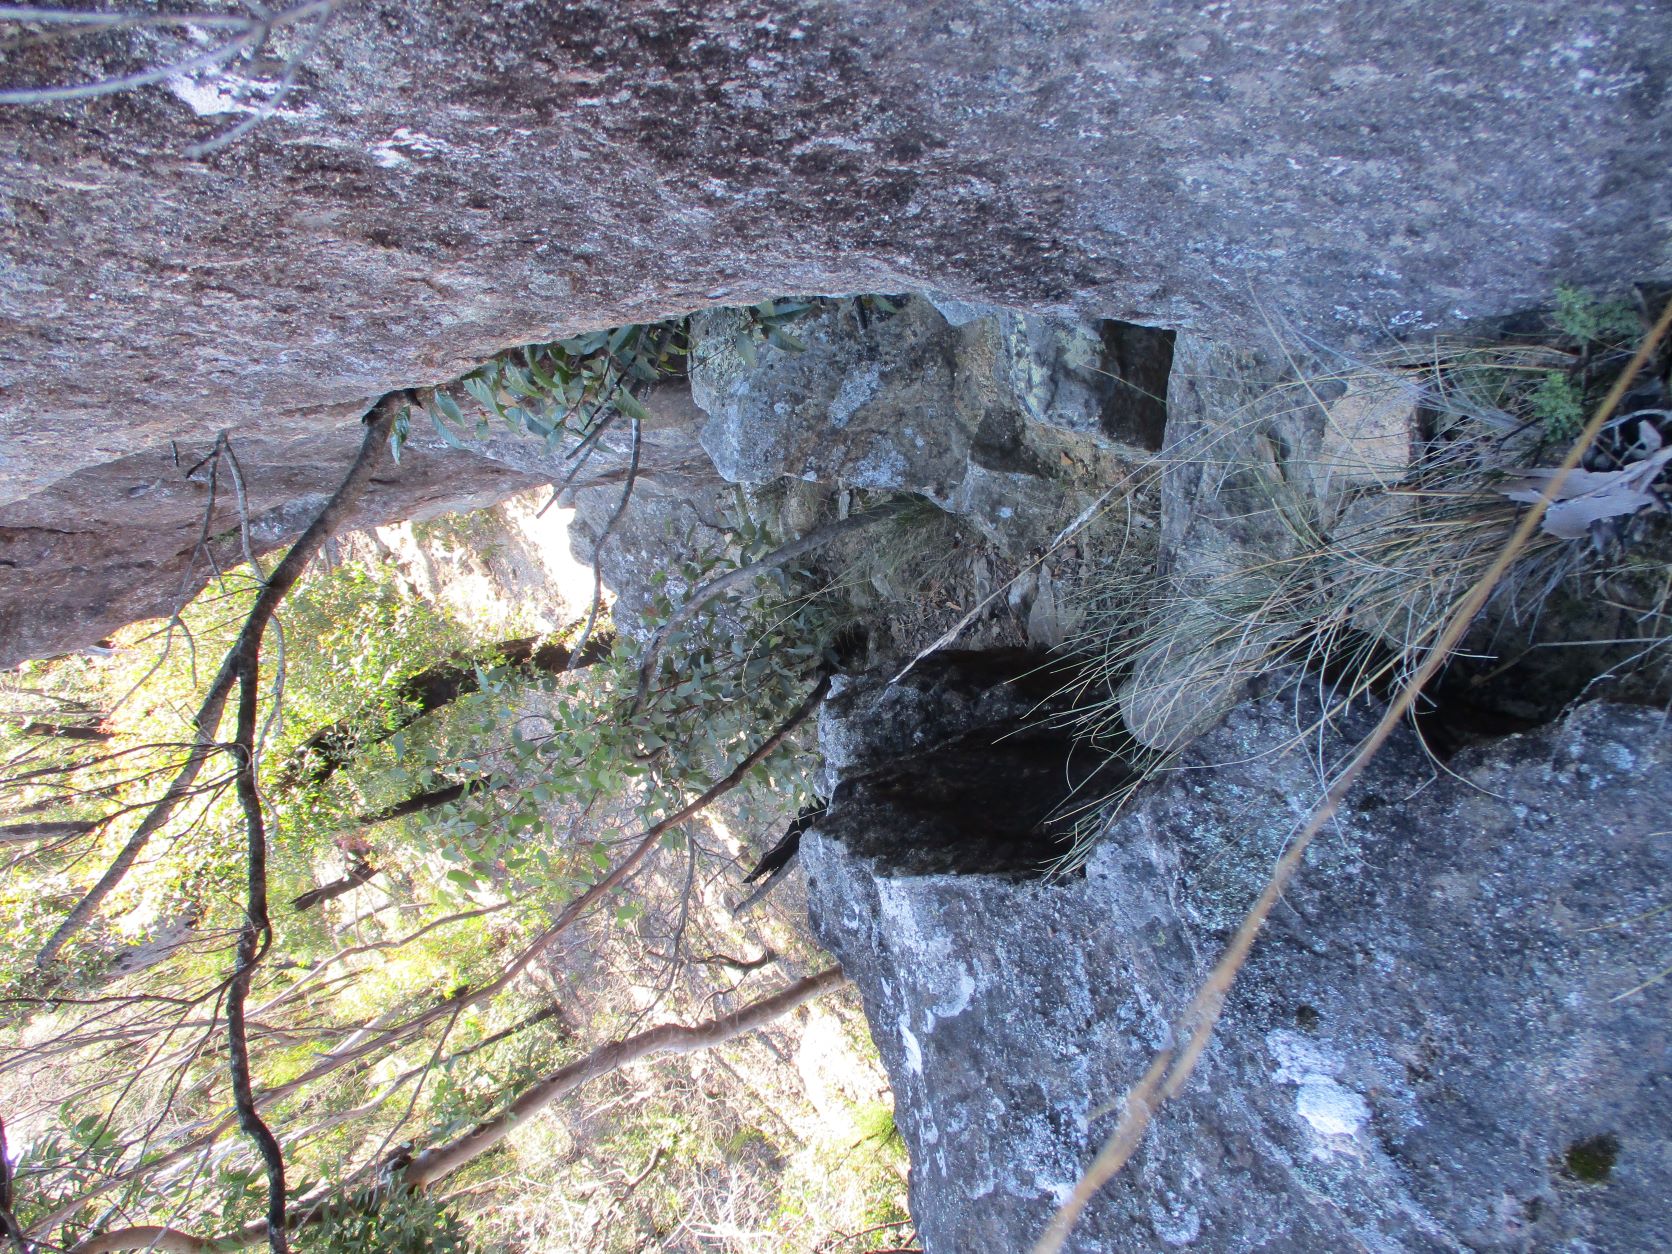
Following the easy flat track noseward for 30m reached the next 8m drop. Ten seconds of recce found a route on the SW side - an obvious easy ramp after a 2m step down. The step down even has an old chipped foothold, as the dusty but level landing point is at most 1m wide with a 5m drop off to the West, so some may prefer a safety tape.
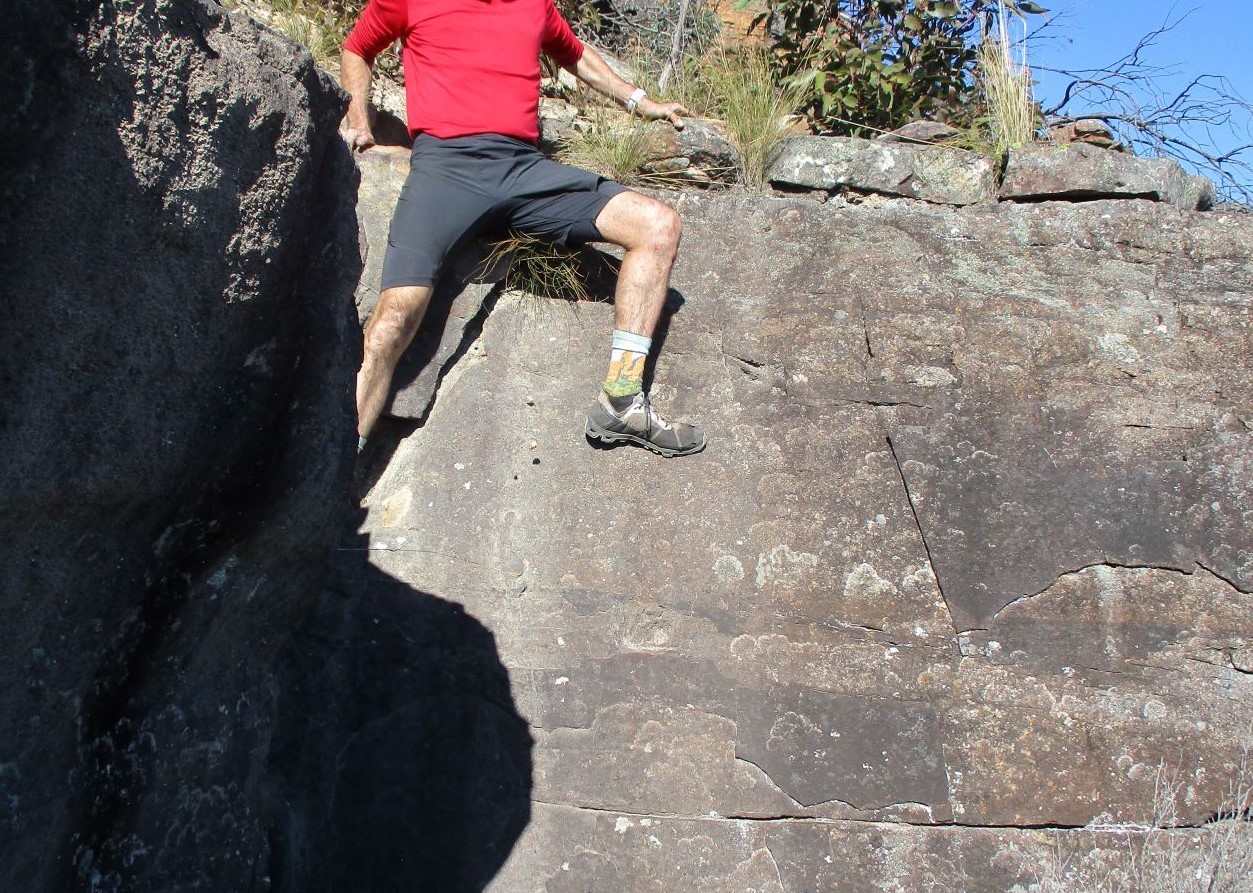
From here a narrow but easy balconeyed ramp leads to the base, where the inevitable talus begins.
It should be noted that this part of the route over the nose has been documented in at least one hard copy publication. It is 200m from the original Rock Pile Pass and requires an abseil or climb. It therefore cannot be considered to be a bushwalkers pass.
Redledge again
After this short ramp a very welcome faint track can be found heading back towards Redledge Pass, thus avoiding the inevitable. Less than twenty minutes of hugging the cliff base sees the Pass. As an alternative to the well known Pass, about 50m before it (& a little higher) is a slightly steeper route. This has no chockstone, but ends up at the by now familiar red ledge.
From here it is just the logbook, Corral Creek crossing, Lizards Leap and the easy track to the fire trail and then the car park.
Stats
12.5km
1300m of ascent.
Elapsed 5:45
Care
This is a route that has some route-finding and navigational challenges. However, there are fallback alternatives and almost every section is reversible.
All of your party should be adept at ascent and descent of steep rough talus routes, and also be comfortable with a small level of exposure, particularly when traversing the narrow loose ledges.
Plan for your timing to be significantly longer than those shown - traveling in small groups, running, familiarity with the route, slopes & passes and little time to rest & enjoy the surroundings affects the timing significantly.